Every run in Against the Storm teaches you something new about losing
Against the Storm does not explain why you failed. It lets you sit with the wreckage of your settlement — a dozen villagers starved, the Scorched Queen's patience exhausted, your carefully planned woodcutter rotation collapsed because you forgot beavers hate working in rain — and figure it out yourself. Eremite Games built something that punishes passive play and rewards obsessive attention, which means your first five runs are probably going to end in quiet disaster. That is not a design flaw. That is the syllabus.
This is a roguelite city-builder set in a world of perpetual storm cycles, where you're tasked with establishing settlements in a cursed forest before a timer runs out. You manage multiple species — humans, beavers, lizards, harpies, foxes — each with distinct dietary needs and preferred building types, while juggling a reputation meter, a hostility meter, and a Citadel meta-progression system that unlocks over many runs. It sounds like a lot. It is a lot. But there's a clear internal logic once you stop trying to play it like Tropico.
Understand the two things that actually end your run
Reputation dropping to zero and the Storm arriving before you've secured enough resolve. These are the two failure conditions, and almost everything in the game traces back to one of them. Reputation rises when you complete Orders (timed objectives from the Citadel) and falls when your villagers' needs go unmet. The Storm is a clock — a slow one early on, increasingly brutal as you push into higher Prestige levels. New players tend to fixate on building a self-sufficient economy. Experienced players build toward Orders first and let the economy serve that goal, not the other way around.
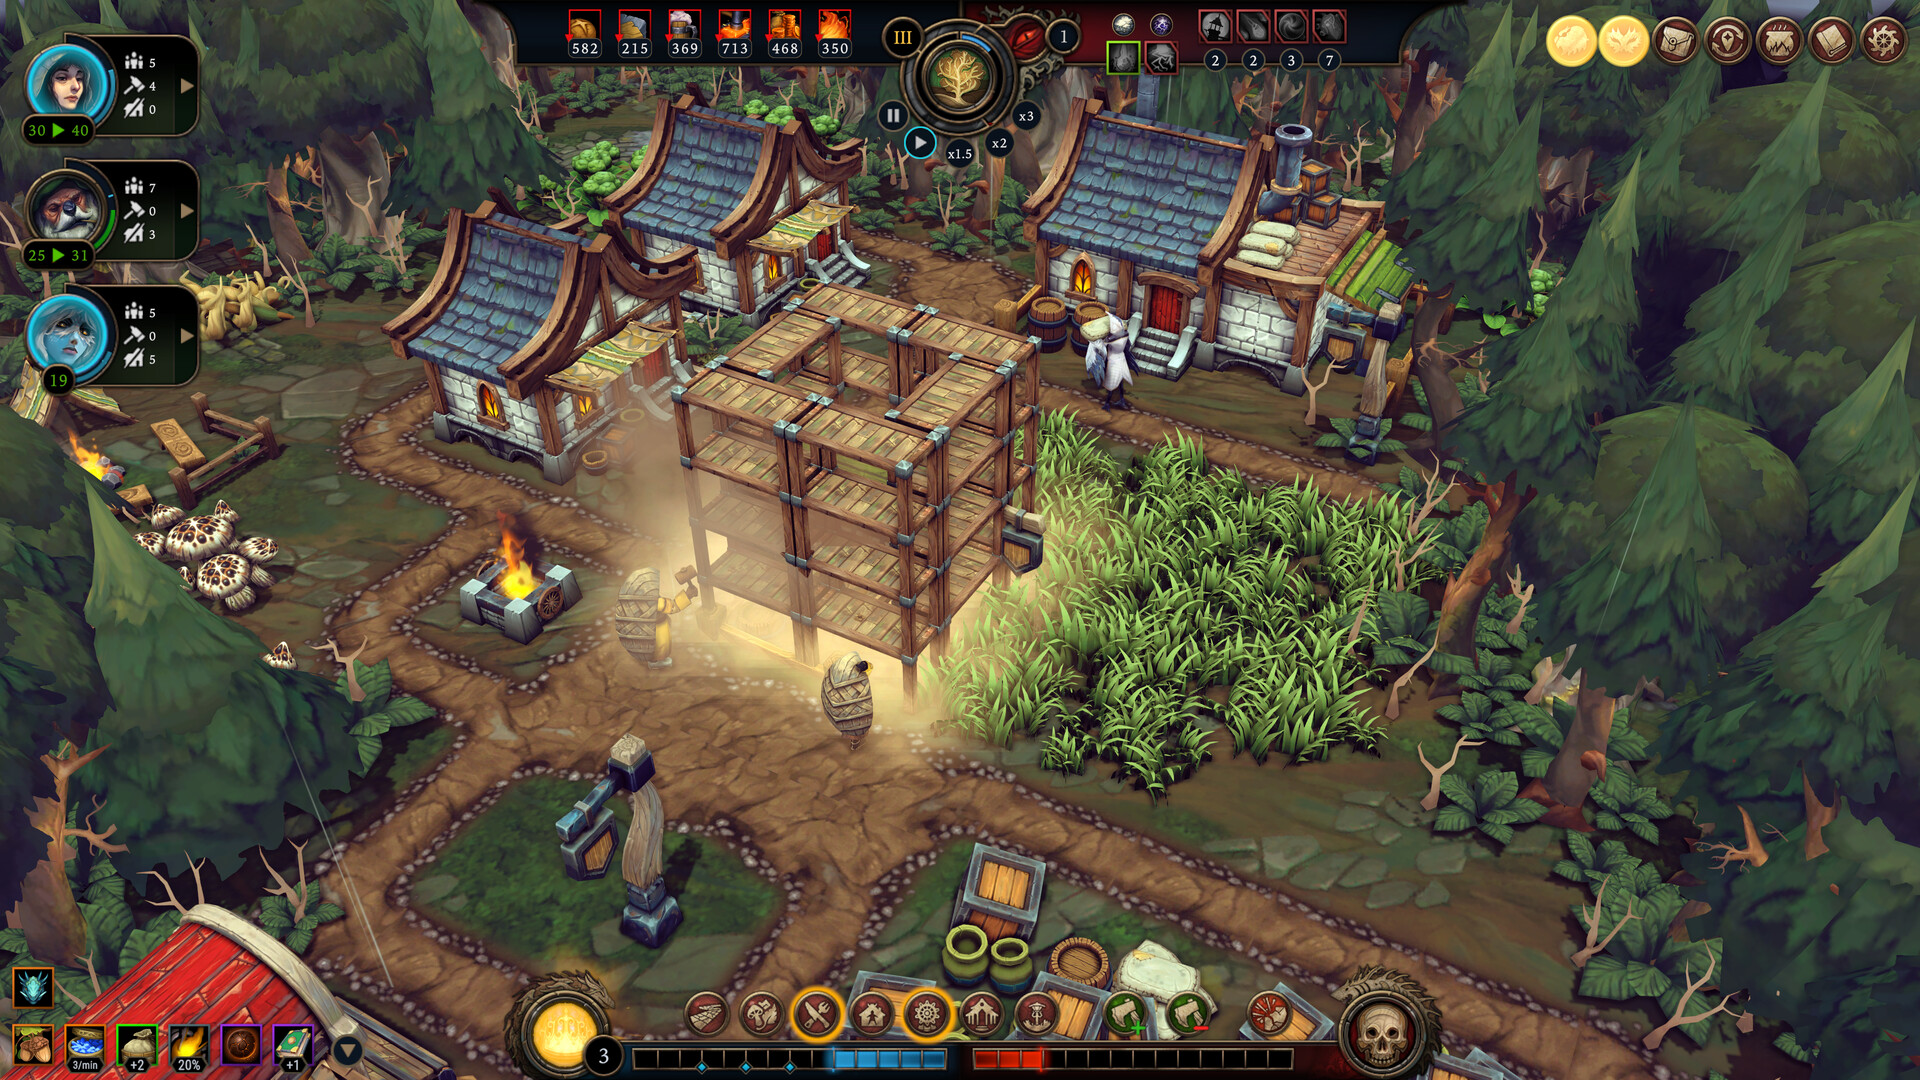
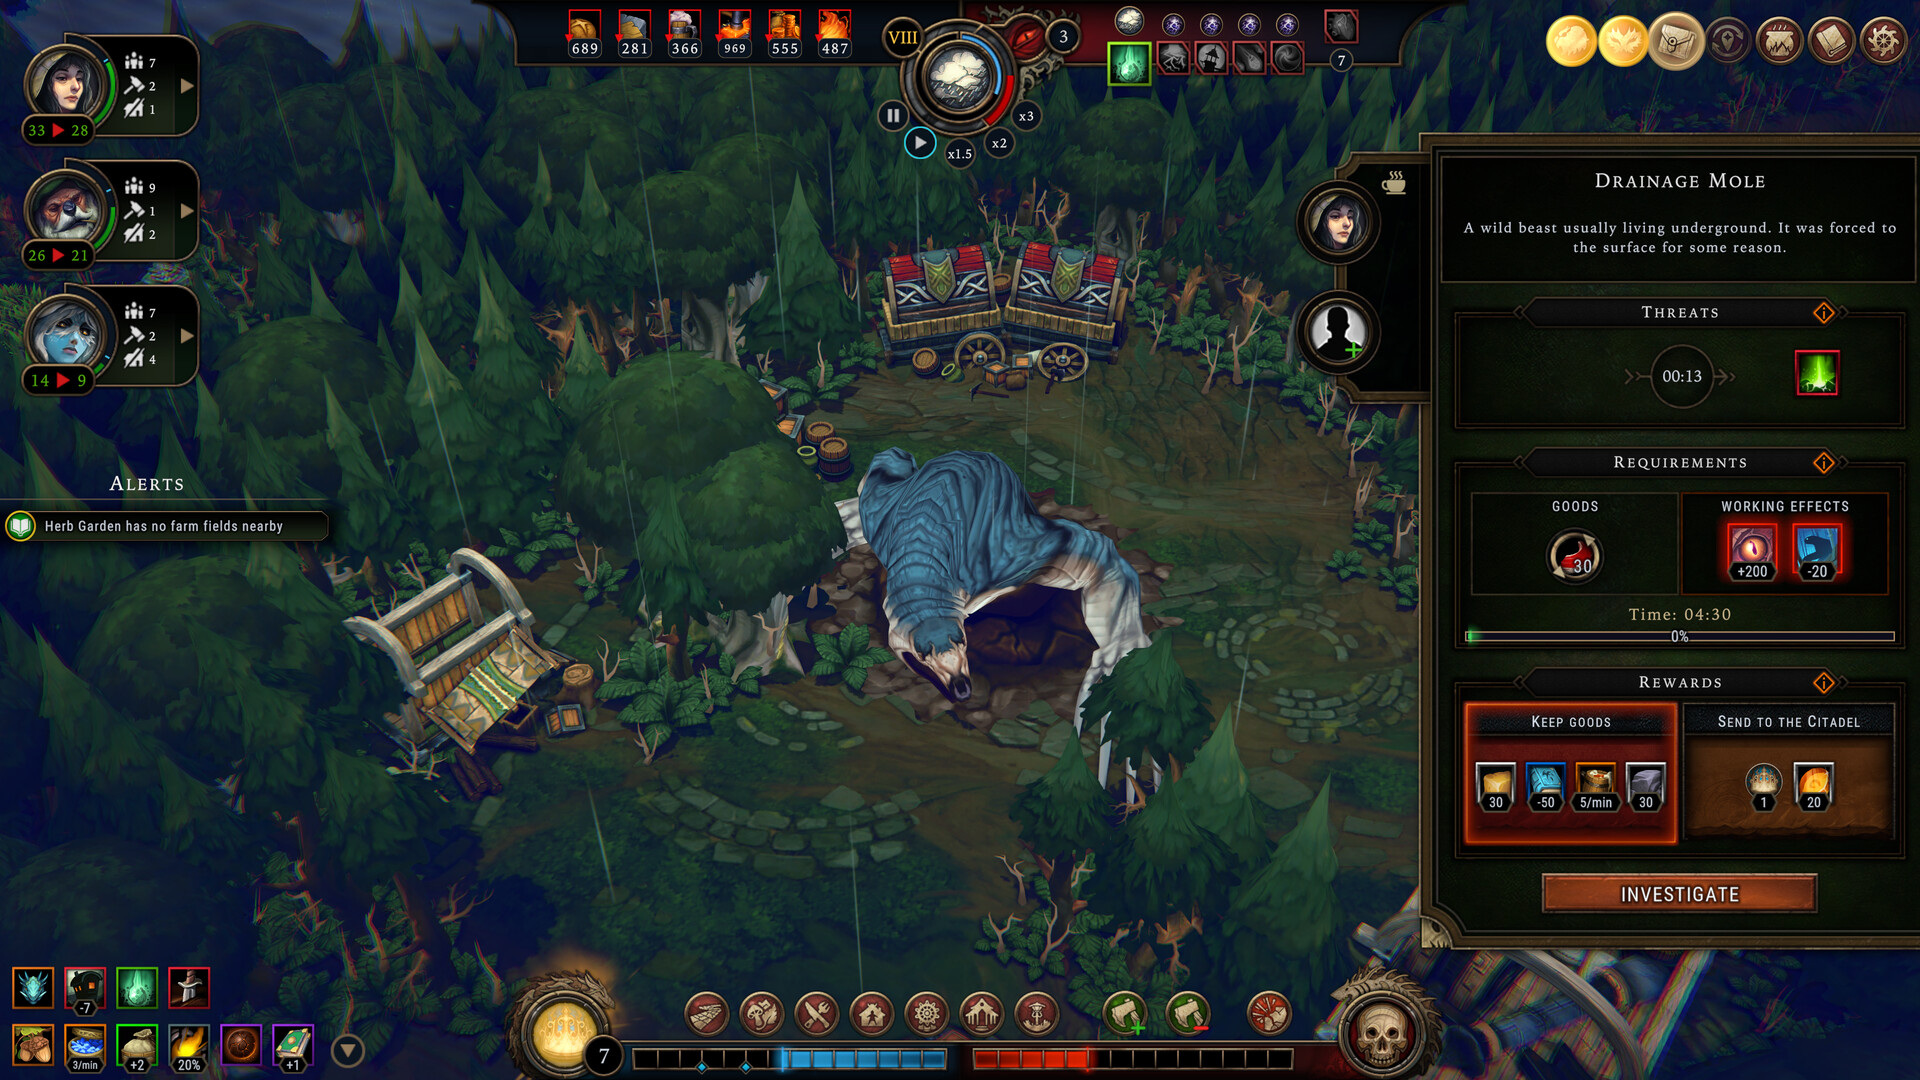 Scene from Against the Storm.
The hostility meter is the one most newcomers ignore until it bites them. Cutting trees, gathering forest resources, building certain structures — all of it increments hostility, which triggers increasingly nasty Glade Events. Those events demand resources you might not have. If you cannot pay them off, you lose reputation. Lose enough reputation, run ends. The forest is not backdrop; it's an active pressure system. Treat it accordingly.
Species composition is not cosmetic
Each species eats specific foods, requires specific housing, and applies bonuses to specific production chains. Beavers produce more at woodcutting and carpentry. Lizards need no heating in cold seasons and eat insects, which frees up your food production slots. Harpies are fast but need luxury goods to stay content. Humans are generalists — fine at everything, exceptional at nothing, which actually makes them high-value in runs where your biome rewards versatility. The game rarely tells you which species combination matches the map. That's part of the puzzle.
In practice, you want to look at your starting Cornerstones (those are the passive bonuses you draft at run start) and cross-reference them with which species you're being offered. If your Cornerstones reward fabric production and you're building in the Coral Forest biome, a beaver-heavy population that can feed itself on berries and boost the weaving line is going to outperform a lizard-forward group that wants insects you haven't unlocked. The species picker at settlement start is actually a strategic decision, not flavour.
One thing the game's tutorial barely touches: you can have multiple species working the same building, but each slot can only be filled by species that building accepts. Check the building tooltip. Some structures only admit humans and beavers. Others are open to all. Assigning a harpy to a building it's not listed for is impossible — but assuming every building is open and then panicking when your workforce won't cooperate is a very common early-run mistake.
How to read the map before you place anything
Each run generates a new map from a pool of biomes — Scarlet Orchard, Coral Forest, Cursed Royal Woodlands, Marshlands, and others — each with different natural resource distributions and biome-specific bonuses. Before you place your first building, scan the Glades. The starting Glade has your essential early resources, but sealed Glades cost resolve-generating resources to open and may contain critical raw materials or new villager arrivals. Your expansion order should be driven by what the map is offering, not by a fixed build sequence you memorised from a YouTube run.
Look at deposit density. If stone is abundant, leaning into construction and trade goods makes sense. If the forest is heavy with reed, textile production becomes viable early. The biome modifier panel (top-left of the screen) tells you what the land naturally accelerates. That panel is doing a lot of work and most new players click past it. Read it before your first action.
The Cornerstone draft is where most runs are won or lost
Cornerstones are passive modifiers you acquire periodically throughout the run — at the start, from Ancient Seals, and occasionally from Orders. Each one nudges your production, population happiness, or resource flow in a specific direction. The temptation is to pick the one that sounds strongest in isolation. The correct play is to pick the one that reinforces what your current run already does well. A Cornerstone that boosts ale production is nearly worthless if you have no brewery and no grain source. The same pick in a beaver-forward run with two grain farms already running can snowball into the most comfortable 28-reputation stretch you'll have.
Synergy-chasing sounds obvious written out, but the game offers enough compelling-looking picks that players consistently get distracted by surface value. In the early Prestige levels — the difficulty tiers the game unlocks after each completed run — you can get away with unfocused Cornerstone choices. Past Prestige 6, unfocused picks are quietly fatal. You won't notice the mistake for another fifteen minutes of game time, which is exactly why runs feel inexplicably terminal at the three-quarter mark.
Relatedly: the choice between taking a Cornerstone now versus rerolling the draft uses Citadel Reroll tokens, which are finite per run. Don't reroll reflexively. If two of the three offered picks are genuinely useless for your current strategy, reroll once and commit to whatever comes up. Saving a reroll for the final Seal Cornerstone — where the stakes are highest — is usually worth more than fixing a mediocre mid-run draft.
Trade posts and the Trader are not optional
Against the Storm is not Frostpunk. You are not meant to be self-sufficient. The Trader arrives periodically, offers goods you can't produce, and buys your surplus. Players who treat trade as supplementary and focus on building closed production loops tend to hit resource walls that feel random but aren't — they're the consequence of trying to do too much internally on a map that doesn't have the raw inputs to support it.
Build your Trade Post early. Prioritise producing at least one surplus good for export — textile materials and processed foods sell consistently across Trader inventories. Watch what the Trader stocks, because some items (copper bars, tools, advanced building components) are faster to buy than to produce in the mid-run stretch. The Citadel upgrade tree has nodes that improve trade relations and discount purchase costs; these are underrated compared to the flashier production bonuses and worth picking up in your first ten meta-progression levels.
When you're struggling at higher Prestige
Prestige increases the Storm timer pressure and stacks additional penalties — fewer villagers, stronger Glade Events, reduced starting resources. The jump between Prestige 4 and Prestige 6 is where most players plateau. The thing that gets you past it isn't learning new mechanics; it's tightening the decisions you already know. Order prioritisation, earlier Trade Post placement, harder discipline about which Glades to open. The game doesn't introduce new systems at higher Prestige. It just removes your margin for casual play.
If a run collapses, spend thirty seconds before clicking Abandon asking what the first wrong decision was — not the last one. Runs rarely die at the moment they look fatal. They die twenty minutes earlier when you opened a Glade you couldn't afford, or drafted a Cornerstone that split your production focus, or assigned three beavers to a building that didn't need three workers while your housing fell behind. Against the Storm is generous with information in retrospect. The whole thing is a structured argument for paying attention earlier.
There's a run somewhere around your twelfth or fifteenth attempt where it clicks — where the species mix, the Cornerstones, and the map's resource distribution align, and you hit your reputation target with time to spare. That run doesn't feel like relief. It feels like proof. And the next one will be harder, and that will also be the point.
Reader Q&A
Is this guide spoiler-free?
We avoid story spoilers. Mechanics and systems are explained directly, but plot beats are not covered.
How current is this guide?
Updated for the most recent patch as of June 2026. Major balance changes are noted inline.
Do I need DLC for these strategies to work?
No. Everything covered here applies to the base game. Where DLC content is referenced, we mark it clearly.
Will following this guide work on hardest difficulty?
Mostly — yes. A few strategies become tight on hardest difficulty; we flag those where relevant.
Reader comments