Every run in Slay the Spire ends in a lesson
Slay the Spire does not explain itself in full. It shows you a deck of starter cards, a health bar, some gold, and a map that branches up toward a boss you will almost certainly lose to the first several times you face it. MegaCrit released the game into Early Access in 2017 and the design philosophy hasn't aged a day: the game teaches through failure rather than tooltips. That sounds like a platitude, but it's mechanically true. Every run generates specific information about what you built wrong, and the faster you learn to read that information, the faster you stop dying to the same mistakes.
This guide is for players who have lost a dozen runs and feel like the game is withholding something. It isn't. The systems are genuinely learnable, but they require you to abandon habits from other card games and most action-RPGs. Slay the Spire rewards deliberate restraint more than it rewards accumulation. The instinct to pick up every card offered is the first instinct to kill.
Deck size is the single most important lever you control
New players almost always build decks that are too large. The appeal is understandable — every card reward offers something interesting, and skipping feels like leaving power on the table. But Slay the Spire's draw mechanics mean that a bloated deck is a slow deck. You cycle through cards less frequently, which means your key synergies surface less often. A 14-card deck that draws its engine every three turns will consistently outperform a 22-card deck that draws it every five.
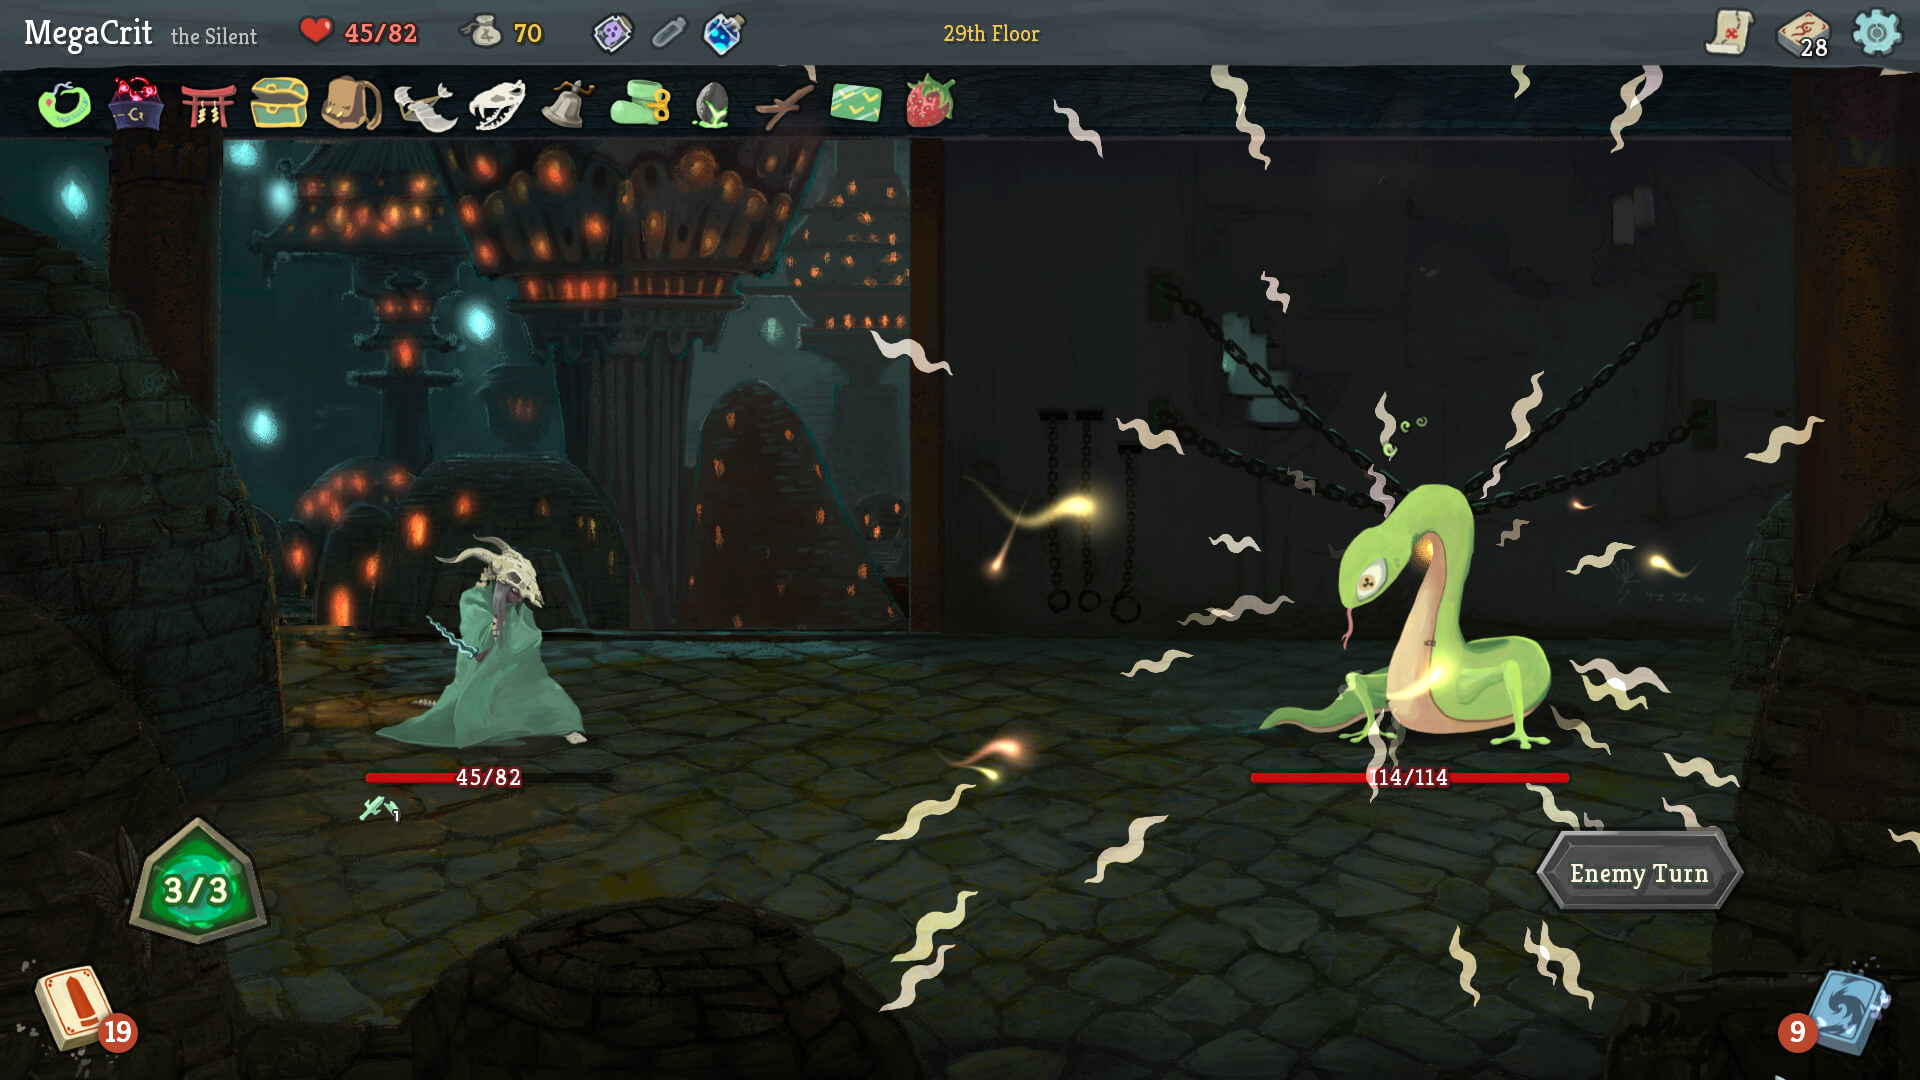
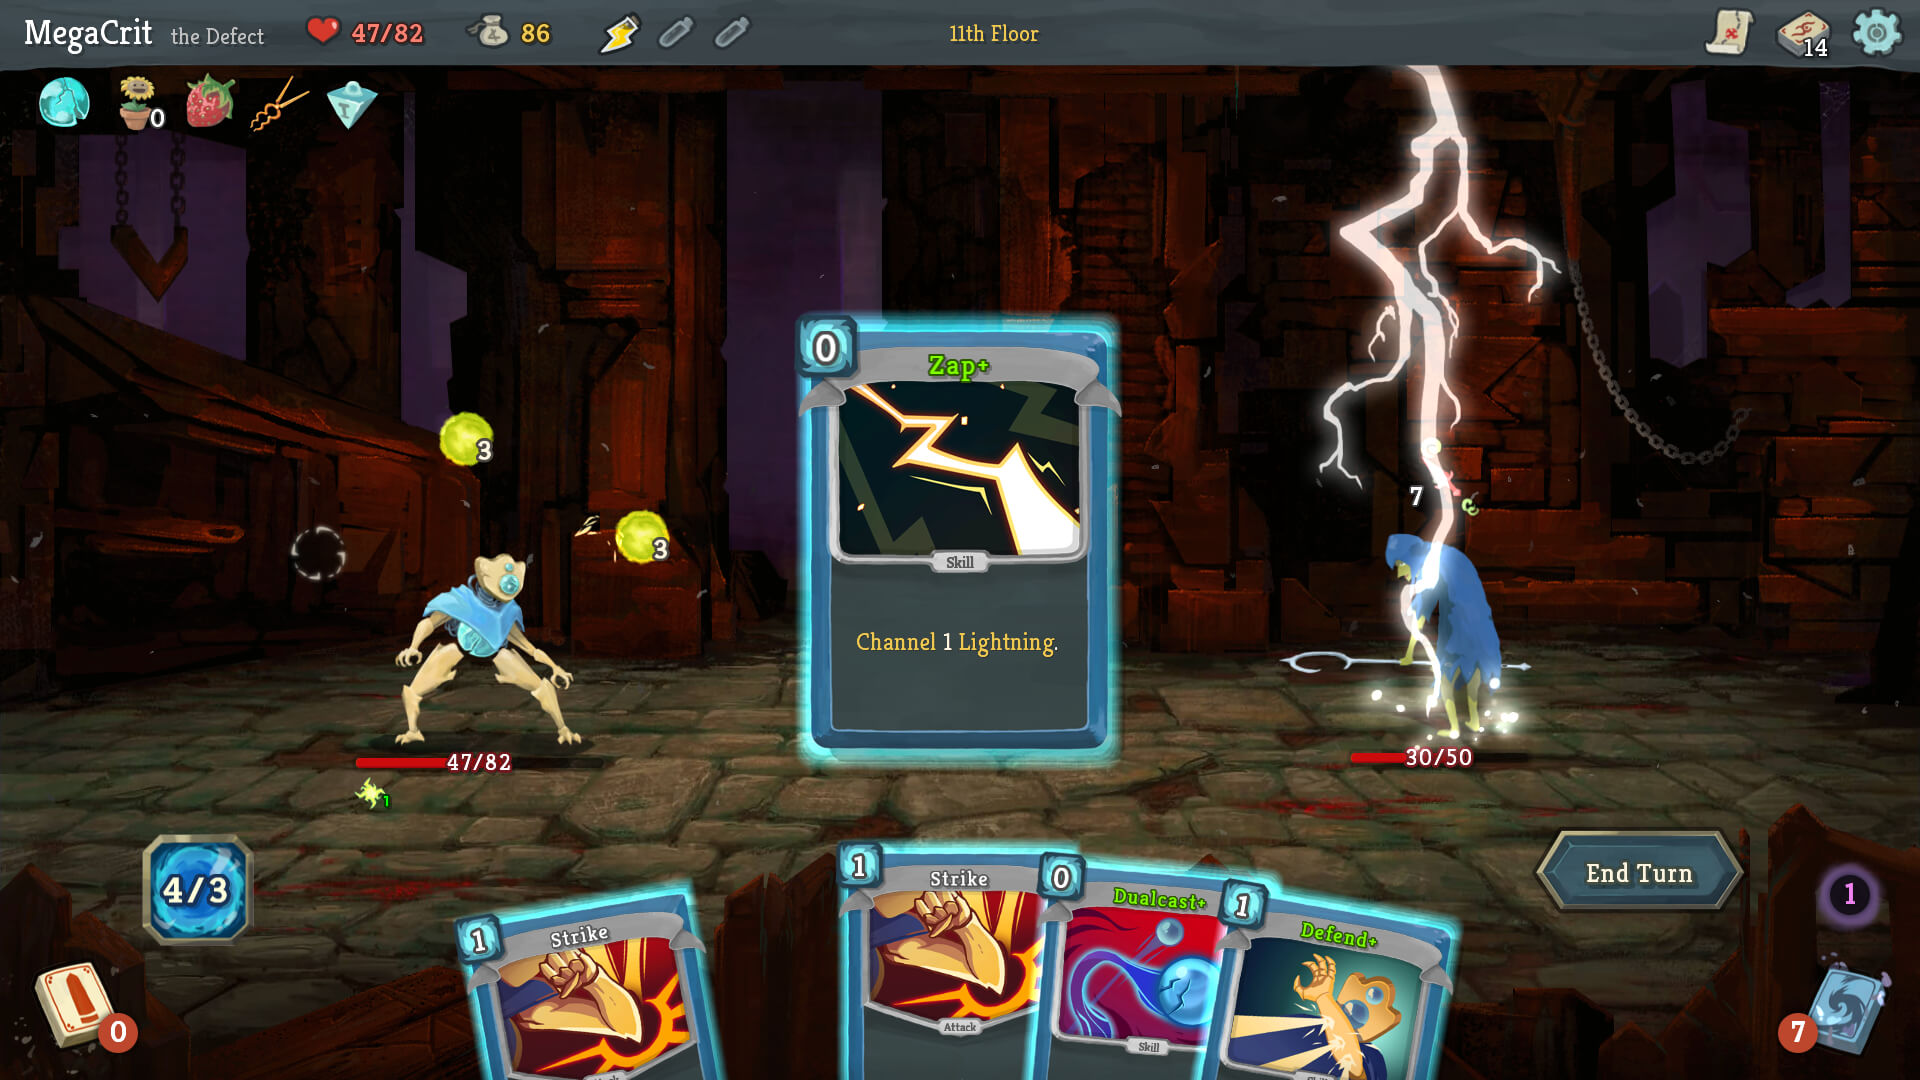 Scene from Slay the Spire.
The target range for most successful runs sits somewhere between 10 and 16 cards, depending on the character. The Ironclad can get away with leaner decks because Barricade and Body Slam create a closed loop that doesn't need volume. The Silent needs slightly more cards to fuel discard-synergy builds, but 'slightly more' still doesn't mean 25. When you're offered a card and you're not immediately sure it improves the deck, the correct decision is almost always to skip. Skipping costs nothing. A bad addition costs you consistency across every fight for the rest of the run.
Card removal is equally important and consistently underused. The shop charges gold to remove cards, and newer players tend to hoard gold for relics or potions. But removing a Strike or a Defend from the Ironclad's starter deck is often worth more than any single relic you could purchase. Your starting cards were designed for Act 1, not Act 3. Spending 75 gold to cut two weak cards is usually a better investment than spending 150 gold on a relic that gives you one extra energy per combat.
How to read the map before you move
The map in Slay the Spire is not a list of obstacles. It's a resource-allocation problem. Every node type has a function — Elite fights offer relics and more gold, campfires let you rest or upgrade a card, question marks give you random events that range from excellent to actively harmful. The spacing and sequence of these nodes determines whether you arrive at the boss healthy or ragged, and you make these routing decisions before you know what the fights will look like. That's the tension.
A general rule: in Act 1, prioritize Elite fights if your deck is functional and your health is above 70 percent. The relics from Elites are the primary way to build power spikes, and skipping all of them because they're dangerous is how you arrive at the boss with a starter deck. In Act 2, the calculus shifts. Elites hit harder and the enemies apply debuffs that can cascade badly if your deck isn't ready. Route toward campfires more aggressively in Act 2, especially ahead of The Collector or Automaton depending on your run.
Question mark rooms deserve more attention than most guides give them. The event pool in each act is fixed and eventually learnable. Knowing that the 'Accursed Blacksmith' event in Act 2 upgrades a card for 7 damage taken — and knowing whether that's a trade worth making — separates intermediate players from strong ones. You don't need to memorize every event on day one, but after 20 runs you should start recognizing the names and adjusting your decisions accordingly. The Neow's Lament event at the very start of a run is one of the most consequential choices you'll make, and most beginners pick it without understanding what the options actually mean.
Energy, scaling, and why you die in Act 3
Most new players die in Act 3 not because the enemies are harder — though they are — but because the deck they built for Act 1 hasn't scaled. Act 3 enemies apply debuffs, hit for high values, and often have mechanics that punish passive decks. If your strategy in Act 1 was 'play two Strikes and a Bash every turn', that strategy stops working around floor 35. You need a power curve.
Scaling means your deck gets stronger as a fight goes on, not just as your collection grows. The Ironclad's Demon Form — three Strength per turn after the first — is the clearest example. It's weak on turn one, dominant by turn four, and if the fight goes long enough, trivial. Cards like Inflame, Limit Break, and Evolve all operate on this logic. The Defect scales through Focus and Orb generation; the Watcher scales by cycling through Stance quickly and building Mantra. Each character has a different mechanism, but the principle is the same: identify what your deck's scaling engine is, protect it, and build toward it.
Three energy per turn is the default and it's tight. Energy relics — Cursed Key, Cracked Core, Coffee Dripper, Chemical X — are among the most sought-after in the game because more energy directly increases how many cards you can play per turn. When you see an energy relic offered, it's worth serious consideration even if the downside looks steep. Coffee Dripper removes your campfire rest option, which feels catastrophic early and is manageable late. Context matters, but as a rule, players undervalue energy and overvalue straightforward damage cards.
Boss relics change what you're building toward
After every act boss you choose one of three relics, and these are not just upgrades — they're build pivots. Snecko Eye randomizes the cost of each card drawn but sets the cost to between zero and three, which becomes broken in a large-card, high-cost deck. Runic Pyramid means you never discard at end of turn, enabling infinite-hand strategies. Pandora's Box removes all your starting Strike and Defend cards and replaces them with random upgraded cards, essentially fast-forwarding the deck thinning you'd otherwise do at the shop.
The mistake is treating boss relics as isolated bonuses. They're prompts to reconsider your deck's structure. If you pick Snecko Eye, you should be actively looking for expensive cards you would have otherwise avoided — cards costing three or more that suddenly become free half the time. If you pick Runic Dome, which blinds you to enemy intent, you need a strategy that doesn't depend on reading incoming attacks. The relic and the deck have to answer the same question.
Potions are for winning fights you would otherwise lose
This sounds obvious, but watch how you actually use potions across a ten-run stretch. Most players hoard them until the boss, then panic-use them in Act 1 during a bad Elite encounter, then arrive at the boss with nothing. Potions are consumable resources with a carrying limit — three slots by default — which means holding them past their optimal use case is waste, not conservation.
The correct mental model: a potion should be used when not using it would cost you more health than keeping it would save you. A Block potion used to prevent 18 incoming damage in Act 2 is almost certainly worth more than that same potion sitting in your inventory when you fight the Heart in Act 4. Strength potions, Dexterity potions, and Distilled Chaos are high-variance; use them when you can guarantee impact. Ancient Potion and Entropic Brew are slower burns with longer payoff windows.
The Ascension ladder and what it's actually testing
Slay the Spire has 20 Ascension levels per character, each adding a modifier that tightens the margins. Ascension 1 adds a stronger starting debuff from the boss. Ascension 4 makes elites hit harder. By Ascension 15, enemies start the fight with a Strength buff and bosses have additional health. The ladder exists to stress-test your understanding, not your reflexes — this is not a twitch game. If you're dying repeatedly at the same Ascension level, it's almost always a decision-making problem, not a mechanical one.
Don't rush the Ascension climb. Getting the base win on all four characters — including the Watcher, who plays more like a puzzle game inside a card game — teaches you more than grinding Ascension 5 on the Ironclad. The Watcher's Stance system has no real equivalent elsewhere in the genre; it rewards players who've already internalized the fundamentals and want a different kind of test. Treat each character as a separate course.
The run you just failed probably told you exactly what went wrong. You ran out of block in Act 3 because you prioritized damage too early. You died to the Time Eater because your deck was too thin to cycle through it before the halting mechanic kicked in. You burned a critical relic slot on something passive when you needed something active. Slay the Spire is patient with repeated failure in a way that most modern games aren't — it just expects you to be honest about what you saw.
Reader Q&A
Is this guide spoiler-free?
We avoid story spoilers. Mechanics and systems are explained directly, but plot beats are not covered.
How current is this guide?
Updated for the most recent patch as of June 2026. Major balance changes are noted inline.
Do I need DLC for these strategies to work?
No. Everything covered here applies to the base game. Where DLC content is referenced, we mark it clearly.
Will following this guide work on hardest difficulty?
Mostly — yes. A few strategies become tight on hardest difficulty; we flag those where relevant.
Reader comments