Subnautica's ocean wants you lost — here's how to stay found
Subnautica does not hold your hand. It barely acknowledges that you have hands. Unknown Worlds Entertainment built a survival game around the deliberate sensation of being small and under-informed in a very large, very wet place, and for players raised on quest markers and waypoints, those first few hours in the shallows of Planet 4546B can feel less like a game and more like being dropped into the deep end of a pool where something large is breathing below you. The disorientation is the point. But disorientation without any structure is just frustration, and there is a difference between the productive unease the game intends and the kind of aimless wandering that ends with you dying of thirst thirty meters from your lifepod for the fourth time in an evening.
This guide assumes you want to feel the fear without losing three hours to it. The tips below are practical, specific, and sequenced roughly to match how the game reveals itself — which is to say, slowly, and on its own terms. Nothing here will spoil the story beats that the game earns by making you stumble across them. It will, however, keep you alive long enough to stumble.
Understand what the survival meters are actually telling you
You have four core meters: health, food, water, and oxygen. The last one is the most immediately dangerous and also the most forgiving, because it resets every time you surface. New players tend to fixate on oxygen to the exclusion of everything else, which is understandable — a depleting O2 bar has a visual urgency that food and water lack. What kills you more consistently in the early game is dehydration. Water requires either filtering salt deposits at your Fabricator or hunting bladderfish, which drift lazily through the Kelp Forests and Safe Shallows in large numbers. Catching them by hand before you have a Seaglide is slow, but the filtered water recipe (one salt deposit, one coral tube sample) unlocks almost immediately and produces two bottles per craft. Prioritize this before you go exploring.
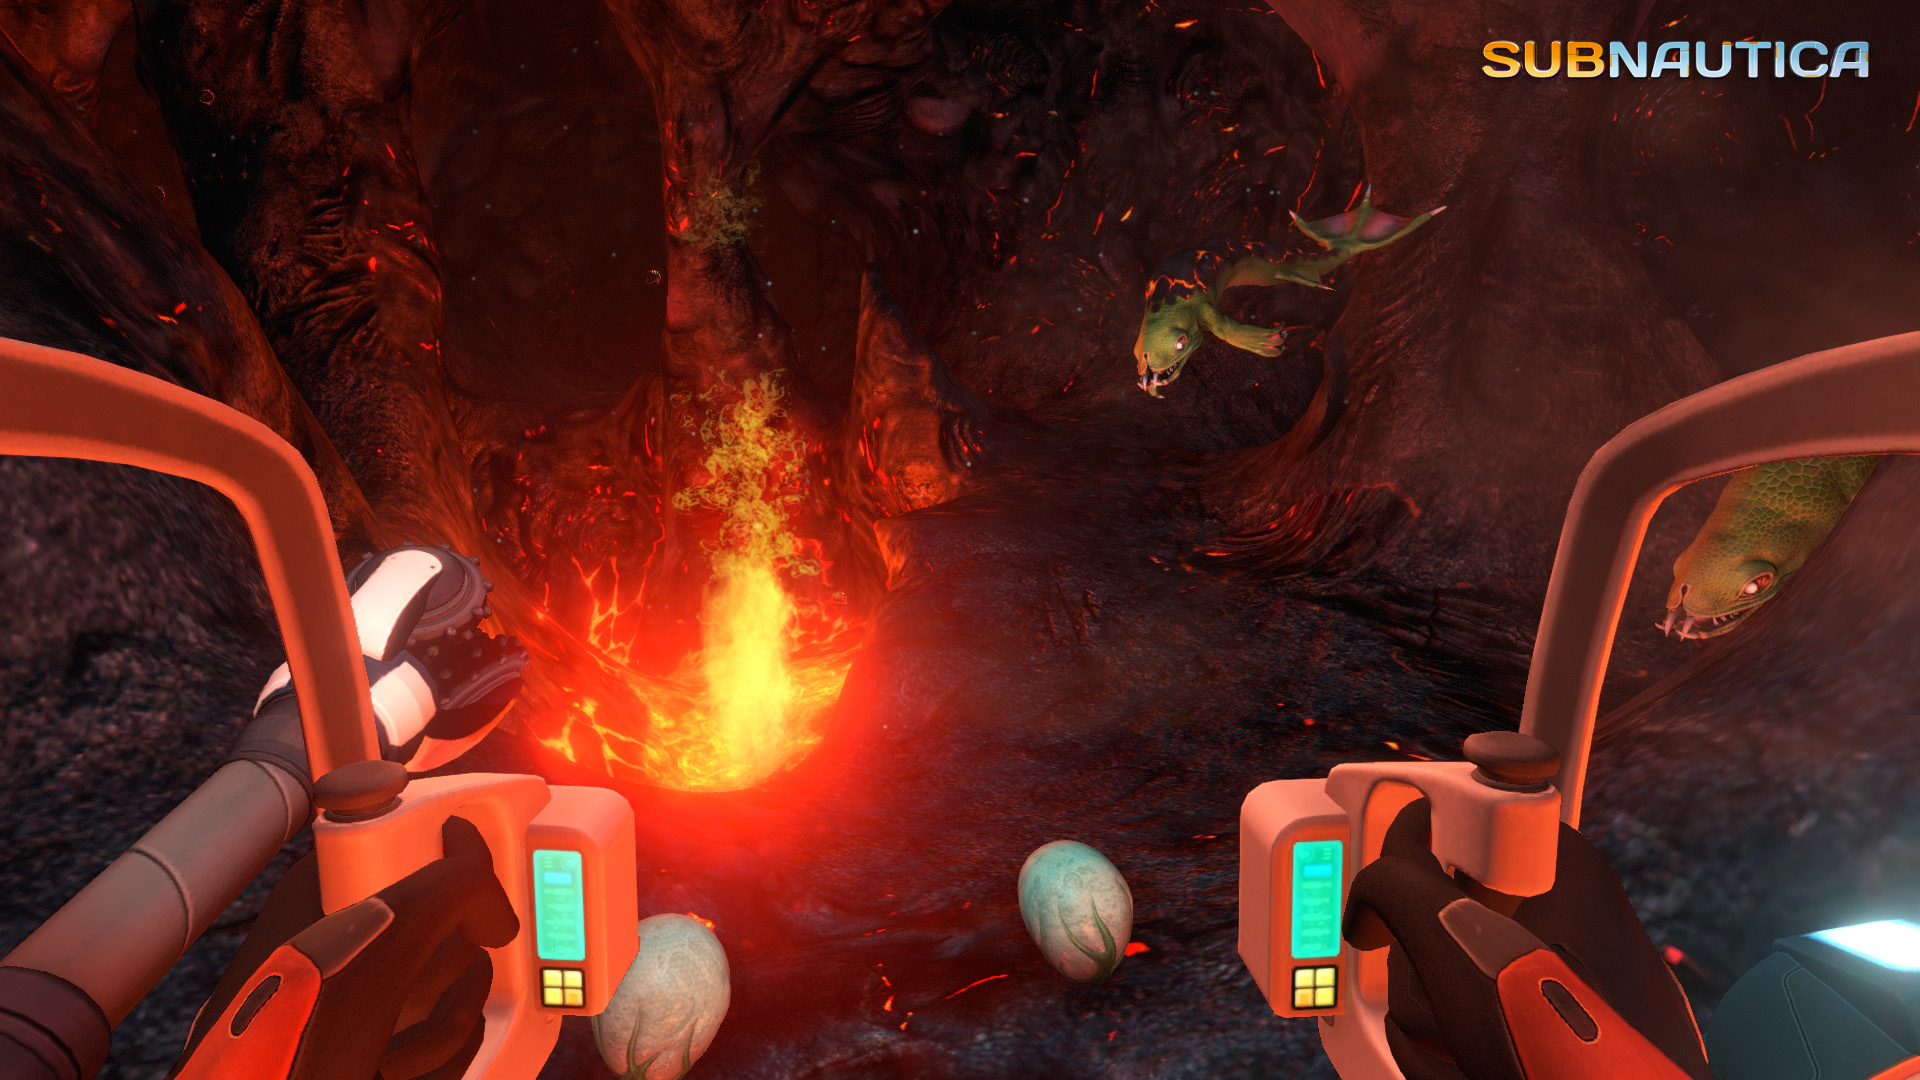
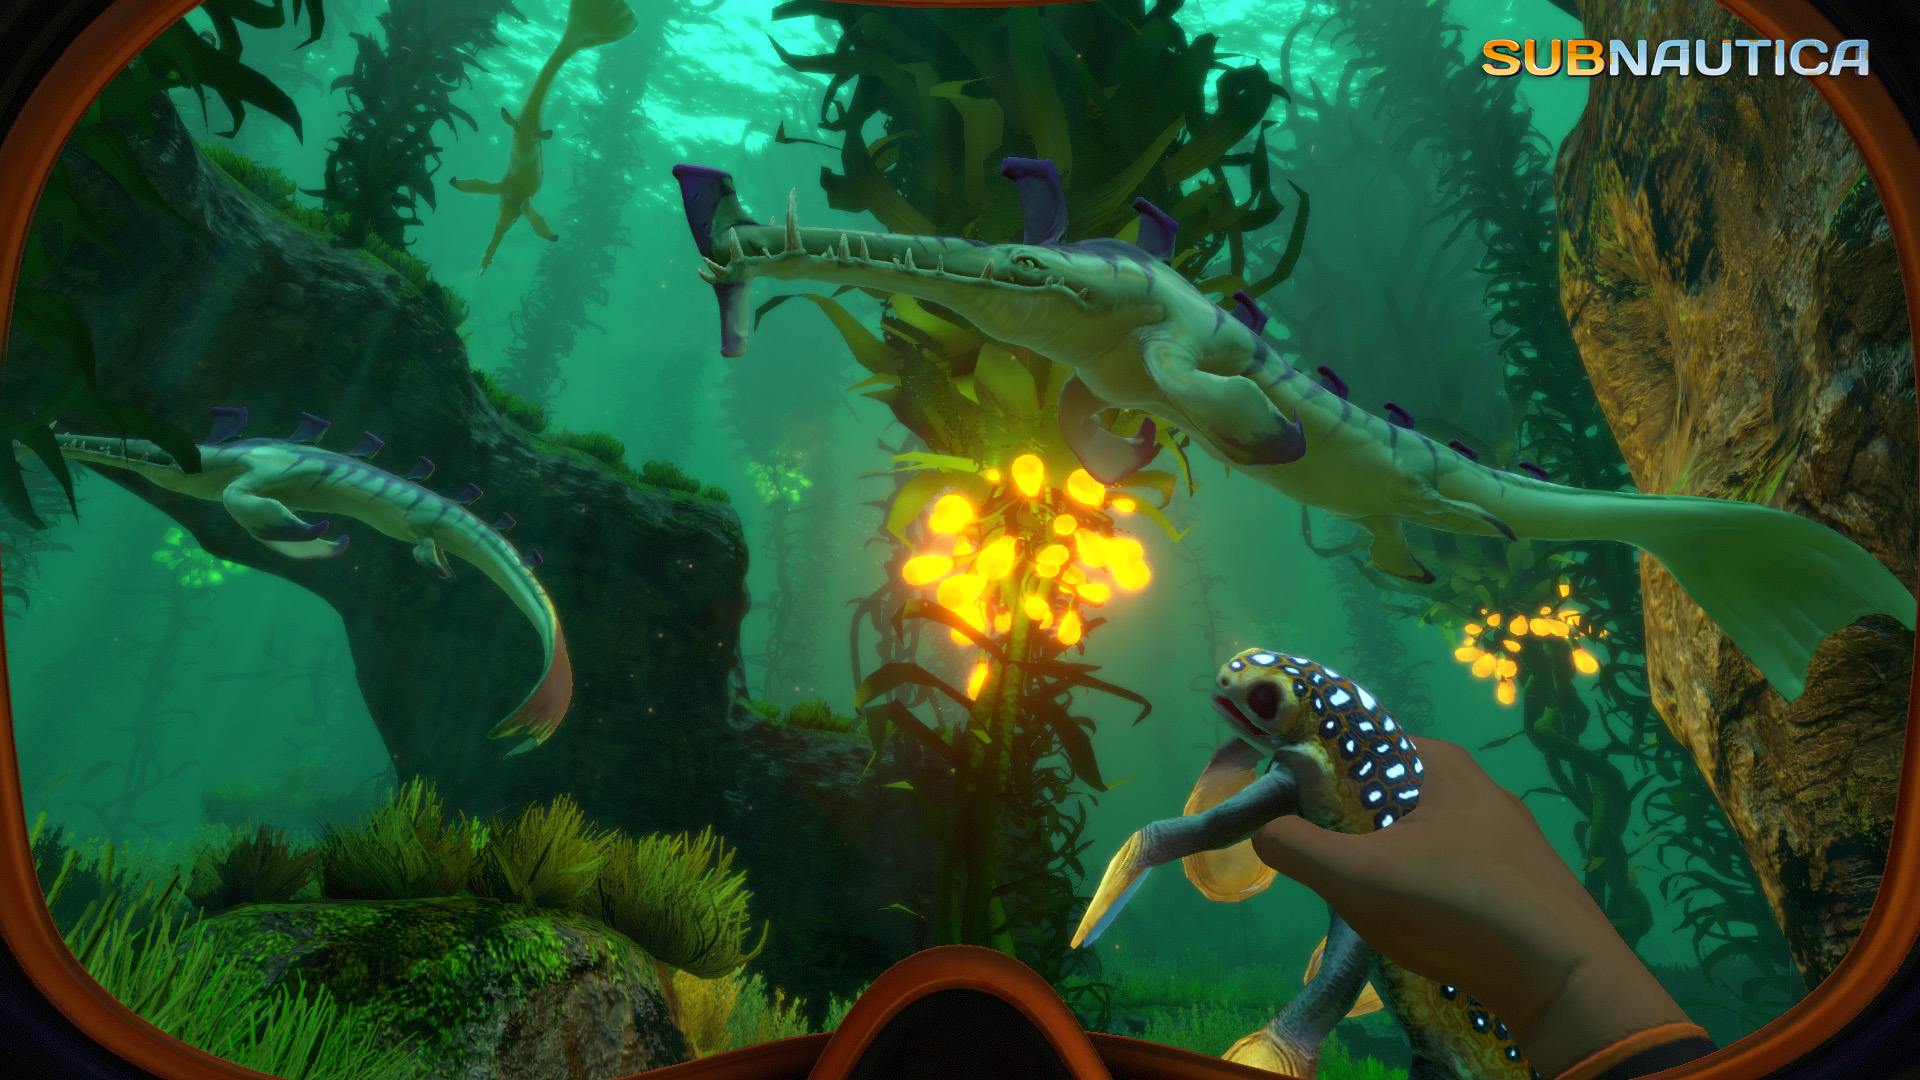 Atmospheric detail in Subnautica.
Food is forgiving at first. Peepers are abundant, you can eat them raw with only minor radiation-style debuffs, and the Grub Basket biome near the crash site is practically a buffet. The nuance comes later, once you start descending past 200 meters and surface runs for food become genuinely inconvenient. By the time you reach the Bulb Zone or the Blood Kelp Trench, you should have a Water Filtration Machine running in a base or at minimum a planted farm with marblemelons, which satisfy both food and water simultaneously and grow without any ongoing maintenance. Think of the filtration machine less as a luxury and more as infrastructure that frees up cognitive space.
Navigation without a minimap: the landmark system you have to build yourself
Subnautica has no minimap. It has a PDA with a beacon system, and using it aggressively is the single highest-leverage habit you can build in your first session. The game gives you a handful of beacons to craft early — they require copper wire and a beacon component — but the recipe is cheap enough that you should be making five to ten of them before your first serious dive. Drop one at any wreck entrance you find. Drop one at the edge of the Mushroom Forest the first time you see it. Drop one at the transition point where the Safe Shallows floor starts sloping down into the Grand Reef. These are not waypoints the game gives you; they are spatial anchors you construct, and the habit of placing them turns a confusing, open ocean into something legible.
The compass matters more than it looks. The PDA heads-up display shows cardinal direction, and the sun rises in the east — standard nautical awareness applies here, which is slightly funny in an alien ocean but genuinely useful. The Aurora wreck sits to the northeast of lifepod five, and using it as a fixed reference point early on prevents a lot of the circular swimming that sends new players back to the surface confused and low on oxygen. Once you have a Seaglide (copper, lubricant, battery, power cell — craft it early, there is almost no reason not to), you can check depth on the fly and begin building a rough mental map of depth gradients by biome.
Base-building is not optional — it's how the game's systems open up
Some players treat base-building as optional content, something to do once the survival loop feels settled. This is a mistake. A basic multipurpose room with a single solar panel, a Fabricator, a storage locker, and a medical kit fabricator — all of which you can have operational within the first two or three hours — removes the constant lifepod dependency and gives you a mid-ocean staging point. Building near the Mushroom Forest at around 150 meters depth, for instance, puts you in proximity to Magnetite deposits (critical for late-game tools) without committing you to the terrifying descent into the Inactive Lava Zone before you're ready.
The Habitat Builder scans feel overwhelming when you first see how many modules exist, but the core build order is narrow: Foundation, Corridor or Multipurpose Room, Hatch, Solar Panel or Thermal Plant depending on depth. Everything else — Moonpools, Alien Containment, Scanner Rooms — comes later and serves specific functions you'll recognize when you need them. The Scanner Room deserves a mention: once you have the Range Upgrade and Camera Drone components, it essentially gives you a minimap for a localized area, and placing one in a resource-dense zone like the Jellyshroom Caves cuts down material-gathering runs considerably.
How to handle the creatures that want to eat you
Subnautica is not a combat game. The Stasis Rifle and Propulsion Cannon can incapacitate creatures, but the game's design philosophy around predators is closer to Alien Isolation than it is to any conventional shooter: awareness, patience, and movement choice matter more than reaction time. Stalkers — the shark-like predators in the Safe Shallows — follow a territory and will disengage if you put enough distance between yourself and their patrol range. Reefbacks are passive and enormous; new players sometimes flee from them in panic, burning oxygen in the process, which is the wrong call. Learn the audio cues. The Reaper Leviathan has a distinctive, low grinding vocalization that you will hear before you see it, and in the early game, that sound is your cue to change direction immediately.
The Crash Zone — the debris field surrounding the Aurora wreck — contains four Reaper Leviathans, and visiting it before you have either a Prawn Suit or a Seamoth with a Perimeter Defense Upgrade is survivable only with careful surface-hugging and constant sonar awareness. The Aurora itself is story-critical and time-gated (it explodes roughly three in-game days after your arrival, opening up the interior), so there's no rush. When you do go, bring a full inventory of repair tools, a fire extinguisher, and a Radiation Suit; the interior has radiation zones until you patch the drive core.
The PDA signals: follow them, they're not decoration
Subnautica delivers its narrative primarily through PDA entries — audio logs, survival notes from other Alterra personnel, alien data downloads — and through signal transmissions that appear in your feed and point toward locations of interest. New players sometimes dismiss these signals as ambient flavor, which means they miss crafting recipe fragments that are locked behind specific wreck locations. The Seaglide fragments, for example, appear in three fixed spawn locations across the Safe Shallows and Kelp Forest wrecks; following the signal that flags the nearest wreck cuts down the time you spend scanning randomized fragment pads.
The Databank is worth reading, not skimming. It contains survival hints embedded in flavor text — the entry on Stalkers, for instance, mentions their habit of collecting metal salvage, which is the game's quiet way of telling you that dropping salvage near a Stalker territory will distract them. This kind of lateral information delivery, where mechanical knowledge lives inside narrative prose, is one of the more quietly elegant things about how Unknown Worlds built the game's tutorialization. It trusts you to read.
The depth progression: don't skip steps, but don't stall either
The game's critical path moves through roughly four depth bands: the surface-to-200m Safe Shallows and Kelp Forest phase, the 200-500m Mushroom Forest and Blood Kelp phase, the 500-1000m Grand Reef and Lost River phase, and the 1000m-plus Lava Zones where the story closes. Each transition requires specific gear: a Seamoth with a Depth Module MK1 to safely reach 300m, a Depth Module MK2 for 500m, and a Prawn Suit for anything deeper — the Seamoth caps at 900m with full upgrades, and the terrain past the Lost River entrance is genuinely hostile to anything without crush resistance. Rushing past a depth band because you technically survived a single dive is how you end up 800 meters down with a cracked Seamoth and no repair materials.
Conversely, stalling in the shallows past the point where you have a Seamoth, full Radiation Suit, and a working mid-depth base is how the game loses its tension and starts feeling like housekeeping. The dread that makes Subnautica work requires forward movement into genuinely unknown water. The game's biome design — each zone getting stranger, quieter, or more hostile than the last — depends on you actually going there. At some point the Mushroom Forest ceiling, with its bioluminescent caps and distant whale-song, stops being awe-inspiring and starts being familiar. When that happens, it's time to go deeper.
The ocean does not get less frightening the further down you go. It gets differently frightening — which, if you've built your beacons, stocked your base, and learned to listen for what's below you before you descend toward it, is the feeling the whole game was designed to deliver.
Reader Q&A
Is this guide spoiler-free?
We avoid story spoilers. Mechanics and systems are explained directly, but plot beats are not covered.
How current is this guide?
Updated for the most recent patch as of June 2026. Major balance changes are noted inline.
Do I need DLC for these strategies to work?
No. Everything covered here applies to the base game. Where DLC content is referenced, we mark it clearly.
Will following this guide work on hardest difficulty?
Mostly — yes. A few strategies become tight on hardest difficulty; we flag those where relevant.
Reader comments