Lies of P Punishes Panic — Learn to Read It Instead
Lies of P wants you dead in a specific way. Not the chaotic, overwhelming death of early Dark Souls where an archer you never saw sends you into a ravine — the death that Neowiz and Round8 Studio engineered into their Pinocchio-soaked action RPG is more surgical. The game identifies exactly when you flinch, when you mash, when you refuse to commit to a dodge, and then it kills you for those things. Getting through it requires breaking habits that every other Soulslike probably taught you.
This guide is for players who've bounced off the first few bosses and players who are midway through but still dying on timing they can't quite crack. Krat is unforgiving but legible — the information is there if you know where to look.
Perfect Guard Is Not Optional
Every Soulslike has a parry system of some kind and players routinely ignore it until they run out of other options. Do not do that here. The Perfect Guard — executed by blocking at the moment an attack lands — is how Lies of P is balanced. Regular blocking chips your weapon durability and drains your stamina harder than the game initially signals. Block everything with standard timing and you will run dry mid-combo against almost any late-game enemy. Round8 designed the fight economy around the assumption that competent players will be landing at least some Perfect Guards in every major encounter.
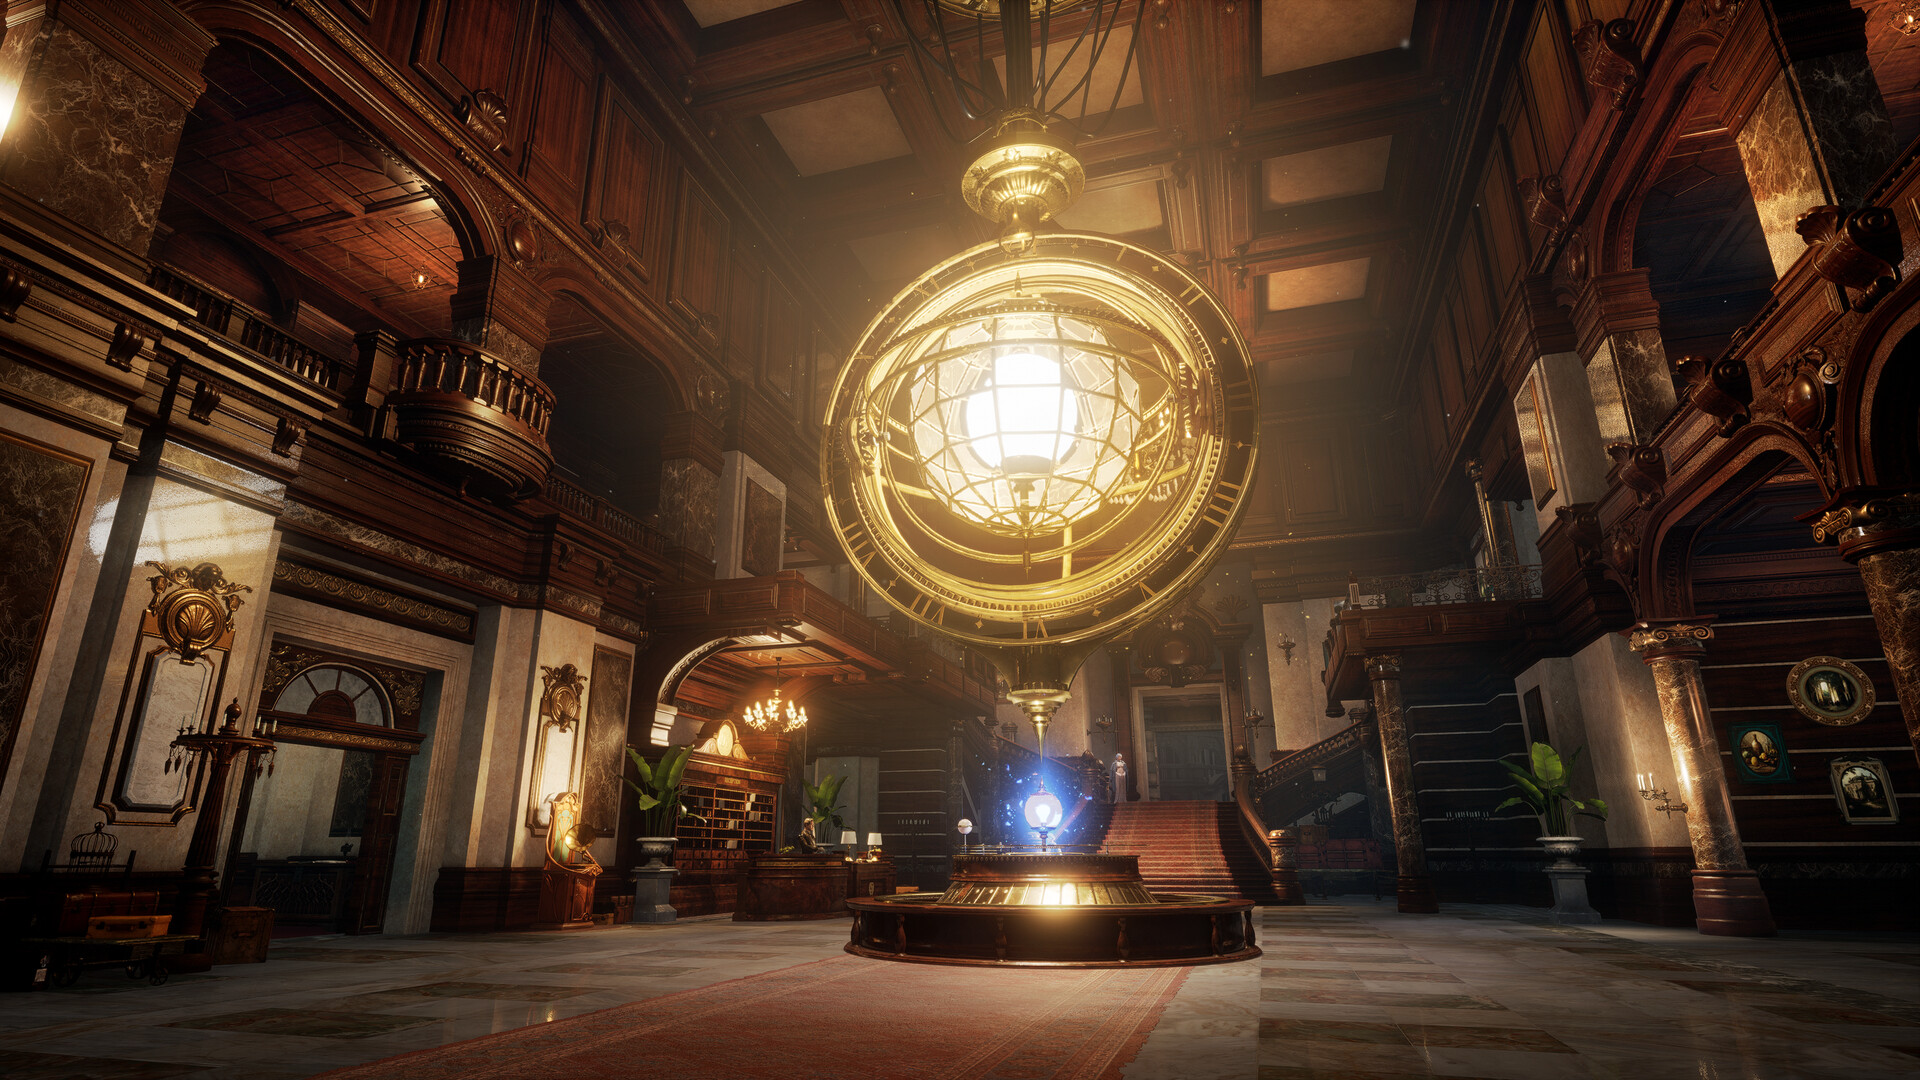
 Scene from Lies of P.
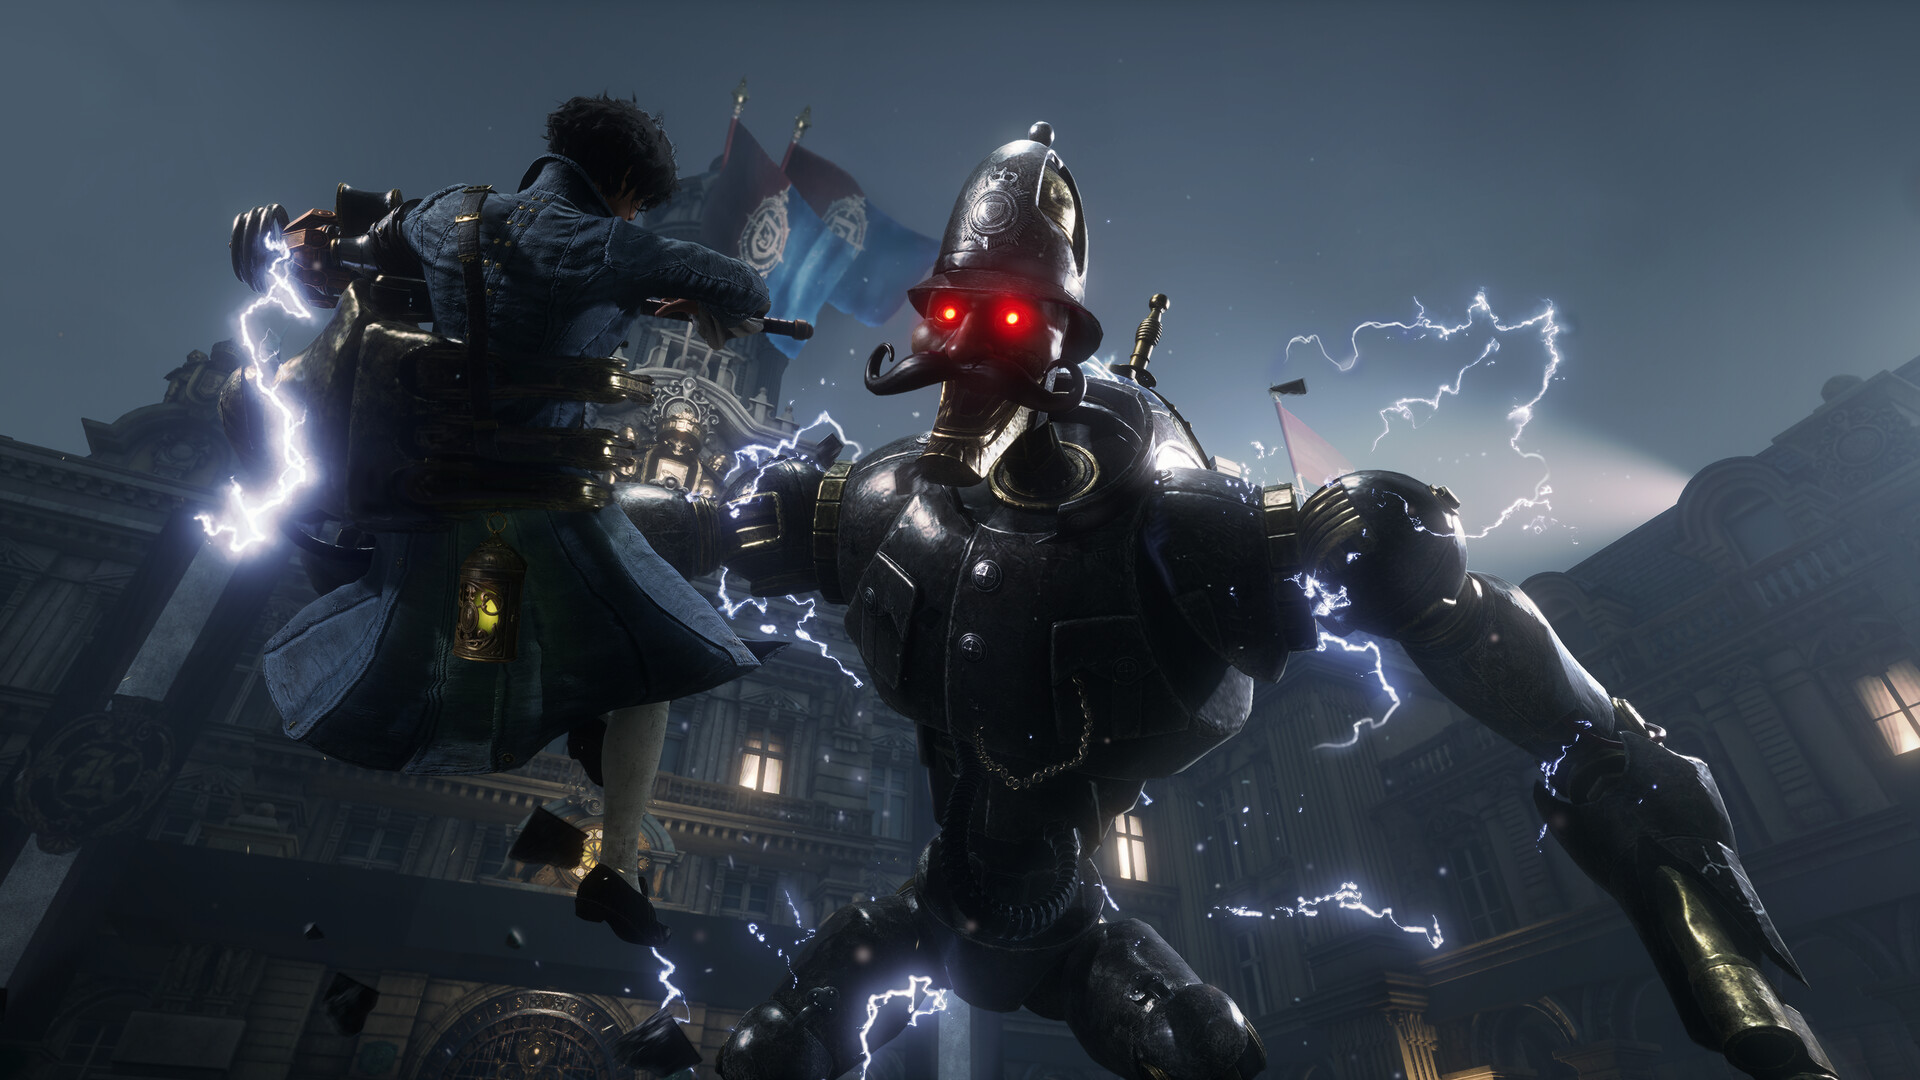
The timing window is roughly comparable to a Sekiro deflect, slightly more lenient but less forgiving than it looks at a glance. What helps is that many attacks telegraph with an audible cue — a mechanical whirring, a weight shift sound — just before contact. Turn your attention there rather than watching the enemy's full body. Enemies in Krat are visually busy, and tracking the whole animation is where new players get lost. Listen, then react. The timing becomes far more consistent within twenty minutes of deliberate practice.
Read the Red Flash, Not the Windup
Lies of P flags unblockable attacks with a red glow effect on the enemy, usually appearing during a distinct animation frame just before the hit extends. This is similar in intent to Bloodborne's Rally system — the game is communicating something crucial and expects you to respond to the signal, not to the shape of the attack. The mistake most players make is reading the whole animation from the beginning and trying to dodge at what feels like the 'right' moment based on visual logic. That fails because Round8 built in deliberate timing deception: long windups that resolve faster than expected, short windups that resolve slower.
Train yourself to treat the red flash as the actual start of the relevant action. Everything before it is noise. Once that wiring clicks, enemies like the Scrapped Watchman — who has a ground slam with a genuinely misleading setup — stop feeling cheap and start feeling like a problem with a clean solution. Dodge through the attack, not away from it, on about 70 percent of unblockables. Lateral rolls work better than backsteps in most cases because the hitboxes extend forward along the attack's direction.
Weapon Degradation Is a Feedback System
Your weapon losing durability mid-fight is annoying the first time and informative every time after that. If your blade is degrading fast, you're either blocking too much without landing Perfect Guards or you're hitting an enemy in a phase where its guard is absorbing your damage. The game uses degradation as a signal: you're doing something wrong, adjust now. Grindstones — the items used to restore durability — are plentiful enough that you shouldn't feel pressured to hoard them, but scarce enough that burning through three per boss fight should prompt a rethink.
The assembly system, which lets you combine weapon handles and blades from different sources, also interacts with durability in ways the game undersells in its tooltips. Handle types affect the base guard absorption rate. The Wintry Rapier handle, for instance, gives meaningfully better guard performance than most starter options, which makes it worth the short trip to acquire even if you don't love the blade attached to it. Swapping handles is cheap at Eugénie's workbench — experiment before a boss, not after four failed attempts.
The Fable Arts You're Probably Ignoring
Fable Arts are weapon skills charged by successful hits and Perfect Guards, and most new players treat them as a bonus rather than a core rotation tool. They're not bonus. The Fable charge system is the game's answer to the question 'how do I interrupt a staggered enemy?' — many Arts are fast enough to hit during the brief stagger window that heavy enemies expose after taking a chunk of damage. Missing that window by defaulting to a slow charged R2 attack is leaving free posture damage on the table.
Two Arts worth understanding early: the Blade Sweep on the Salamander Dagger deals solid poise damage and costs only one charge bar, making it repeatable; the Storm Slash on the Krat Police Baton hits a wide arc and is genuinely useful against the grouped puppet enemies in Chapter 3, which are positioned specifically to make you swing and miss with slow weapons. Neither of these is obscure — they're early-game tools the game hands you and then never explicitly tells you to use. The game's in-game tips section is not thorough on this front.
Managing the Specter System Without Leaning On It
Specters are summonable NPC allies available at most boss gates, and the temptation is to use them as a distraction while you deal damage from behind. That works sometimes, especially early, but it quietly prevents you from learning the boss. If the Specter is alive, the boss splits aggro and you see roughly half its attack patterns at any given moment. Kill the Specter mid-fight — which happens fast on most hard bosses — and you suddenly face a full moveset you haven't practiced. That's why players who leaned on Specters for Rookie Explorer Puppet or Fallen Archbishop Andreus often hit a wall on later fights.
A better use of Specters is pattern research. Summon one, observe the boss, deliberately let the Specter die early, then practice the remaining phase alone. You get the first-phase aggro split as a breather while still forcing yourself to handle the solo window. It's slower than winning with help, but each attempt teaches you something. Lies of P's bosses have recognizable four-to-six move phase-one patterns. Once you've catalogued them, the fight becomes execution rather than improvisation.
Pulse Cells and When Not to Use Them
The healing animation in Lies of P is long. Genuinely, notably long compared to an Estus Flask chug in Elden Ring or the near-instant Gourd in Sekiro. This is intentional — healing is a commitment and Round8 punishes players who heal reactively rather than proactively. If you pop a Pulse Cell because you just took a hit, you are likely eating a follow-up hit during the animation. Most enemies have combo strings of three to five attacks. Count the hits, identify the gap after the string resolves, then heal. This changes everything.
The Legion Arm ability that triggers a short i-frame during a Pulse Cell use exists specifically to help with this problem — it's worth equipping at least once to understand the margin you're working with. But the more durable skill is simply learning enemy string lengths. The Scrapped Watchman throws three attacks and then pauses. The King's Flame boss has a reliable gap after his fire exhale. The patterns are there. The game is asking you to pay attention rather than panic, and if there's a single principle that ties every system in Krat together, that's the one.
Lies of P doesn't actually get harder as it goes — it gets more demanding about the habits you should have built in the first three hours. Players who reach Chapter 7 still mashing through uncertainty tend to find it brutal. Players who made themselves read the system in Krat's opening streets tend to find it satisfying in the way that a complicated lock finally opening feels satisfying. The game earns its difficulty, which is a higher compliment than it might sound.
Reader Q&A
Is this guide spoiler-free?
We avoid story spoilers. Mechanics and systems are explained directly, but plot beats are not covered.
How current is this guide?
Updated for the most recent patch as of June 2026. Major balance changes are noted inline.
Do I need DLC for these strategies to work?
No. Everything covered here applies to the base game. Where DLC content is referenced, we mark it clearly.
Will following this guide work on hardest difficulty?
Mostly — yes. A few strategies become tight on hardest difficulty; we flag those where relevant.
Reader comments