Wielders Win Wars — Here's How to Build One That Lasts
Most players who struggle with Wielder builds aren't struggling because the game is unfair — they're struggling because they've been treating the Wielder's stat sheet like a checklist rather than a system. Power stacking looks attractive early on; the numbers climb, the enemies drop fast, and it feels like you're winning. Then around the third major zone, everything that worked stops working, and the rebuild begins. That cycle is avoidable, and this guide exists to break it.
What follows is written for players who've cleared the first area and have a rough sense of the core loop, but who haven't yet committed to a late-game build philosophy. There's some overlap with absolute beginner territory where the mechanics demand it. Nothing here is filler; if a section exists, it's because that specific system has a meaningful effect on how your Wielder performs under pressure.
The Affinity Triangle Isn't Decorative
NikauZonePlay structures Wielder progression around three affinities — Force, Tempo, and Weave — and the instinct for most new players is to treat them the way you'd treat a class choice: pick one, commit, ignore the others. That approach works for roughly the first twelve hours, which is long enough to form a bad habit. The Affinity Triangle is better understood as a tension system; each affinity amplifies your primary playstyle but creates a specific vulnerability, and the other two affinities are what you use to patch that vulnerability without abandoning your core identity.
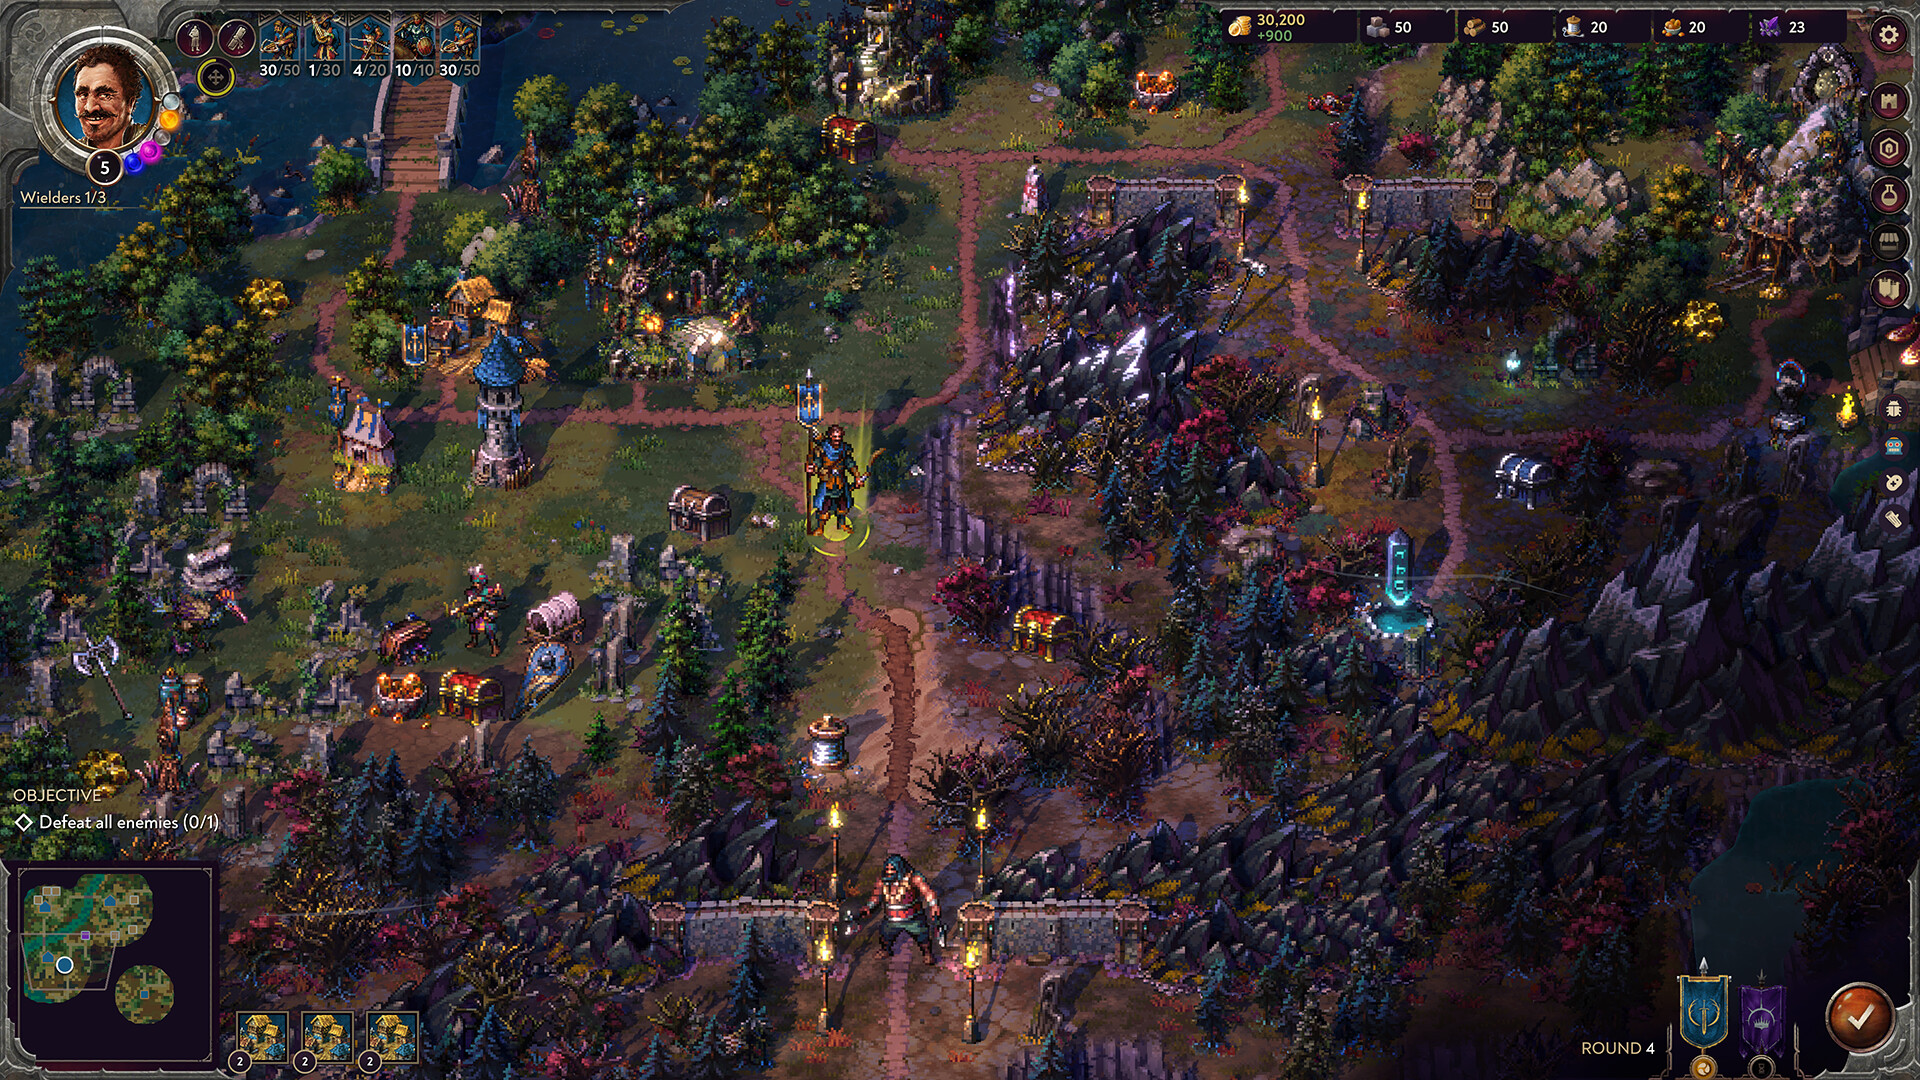
 Scene from Songs of Conquest.
A Force-primary Wielder hits hard and breaks guard states efficiently, but generates high Pressure buildup — essentially a resource that enemies can exploit once it crosses a threshold. Even a light investment in Weave (around 18 to 22 points in the early-to-mid game) keeps Pressure bleed at a manageable rate, buying you enough room to be aggressive without handing enemies a comeback window. This kind of cross-affinity dipping isn't a compromise; it's what the system was designed for, and the builds that fall apart in endgame content are almost always the ones that never engaged with it.
Gear Rarity Means Less Than Gear Timing
Rare items with mismatched affinity synergies will consistently underperform common-tier gear that aligns with your build's timing windows. This is one of those design decisions that doesn't get explained in any tooltip, and it trips up players who've spent time in games like Diablo IV or Path of Exile, where rarity is a reliable signal of power. In NikauZonePlay, rarity mostly tells you about the number of modifier slots, not the quality of the modifiers themselves. A four-slot uncommon piece built around Tempo activation speed can outrun a six-slot rare with conflicting scaling.
The specific thing to look for is Resonance alignment — a secondary stat that determines whether gear modifiers trigger inside or outside your primary combo window. Gear that resonates on entry (marked with a small diamond icon in the tooltip) benefits front-loaded builds that want to burst in a two-to-three hit opener before repositioning. Gear that resonates on exit suits sustained engagement patterns. Mixing the two without intention produces builds that are theoretically high-stat but practically inconsistent, because the triggers keep firing at cross-purposes.
Signature Abilities and Why Players Waste Them
Signature abilities charge slowly, feel powerful when they land, and so players save them. They save them for the right moment, which never quite arrives, and the fight ends with the ability unused. This is the wrong relationship to have with Signatures; they're better understood as rhythm tools rather than emergency buttons. Using a Signature at 60 to 70 percent charge, mid-rotation, to extend a damage window often produces better results than holding for a full-charge burst at the end of a fight that's already half-won.
This matters especially for Tempo-primary Wielders, whose Signature — Cascade — has an internal cooldown that starts counting from activation, not from when the last charge was spent. Players who hoard to full charge and then use it are losing a significant portion of the cooldown recovery time they could have spent building toward a second use. Force and Weave Signatures don't have quite the same punishing relationship with hoarding, but neither benefits from it; using them proactively to maintain pressure tends to outperform the save-and-spike approach in anything beyond isolated boss fights.
Support Slots Are a Build Decision, Not an Afterthought
The game gives you three Support slots fairly early and most players fill them with the highest-stat options available and never think about them again. Support slots interact directly with your affinity distribution, though — a Support item that boosts Force by 12 also increases Pressure generation by a fixed multiplier, which is fine if your Weave investment can absorb it and catastrophic if you've been skimping. Reading the secondary interaction text on Support items, the smaller grey line below the primary stat description, is non-optional if you're building for anything past the mid-game.
There's also a case for deliberately understatting one Support slot in order to reduce a secondary cost. Running a lower-tier Force support to keep Pressure generation under a specific threshold is a real and valid choice that experienced players make routinely. It's the same kind of intentional inefficiency you see in builds from games like Elden Ring, where deliberately not upgrading certain equipment preserves an important trade-off. The stat sheet won't tell you this is a good idea; the fights will.
Respeccing Without Wasting the Run
Respecs cost Resonance Shards, which are finite until a specific mid-game merchant unlocks — roughly at the 14- to 16-hour mark depending on exploration pace. This creates a genuine resource tension: do you experiment early and pay for it in Shards, or do you commit to a build you're not sure about and risk hitting a wall? The answer most players land on is to treat their first 10 to 12 hours as a testing phase and accept one or two Shard expenditures as the cost of figuring out their actual playstyle. That's reasonable. What's not reasonable is respeccing reactively every time a fight goes badly; that burns Shards without producing useful information.
When you do respecs intentionally, the most productive moment is usually right before a new area unlocks rather than right after a new area wrecks you. Looking at the enemy type summary for an incoming zone — available in the Compendium under the flag icon — tells you which affinity damage types are overrepresented, and you can adjust your Support slot distribution accordingly without touching your primary affinity investment. That kind of targeted adjustment is much cheaper in Shards and preserves the core of the build you've been developing.
Reading Enemy Patterns Before You Read Enemy Stats
A common mistake, and one that's equally common in games like Sekiro or Hades, is pulling up an enemy's damage numbers and resistances before you've fought them twice. The stat information creates a frame that overrides observational learning; you start playing the spreadsheet instead of the fight. Enemy patterns in NikauZonePlay have tells that precede stat interactions by several frames, and learning to read those tells produces more consistent results than optimizing against a resistance value. The stats matter for fine-tuning, not for first contact.
This is especially true for the elite enemy variants that start appearing in Zone 4 and beyond, most of which have a pattern-break ability that fires in response to specific player behaviors — aggressive repositioning, repeated same-direction dodges, or sustained Signature usage within a short window. None of that is in the stat sheet. It only becomes visible through repetition, which means your first few encounters with a new elite type are information-gathering runs regardless of how optimized your Wielder is. Treat them accordingly, and the build you've constructed will have a fair chance to perform the way it was designed to.
Build theory is genuinely useful, and the systems here reward players who engage with it carefully; but a Wielder that's been tested under real conditions will always outperform one that's been theorycrafted in isolation. Get the affinity balance right, respect the Resonance alignment on your gear, use your Signature when it does work rather than when it feels safe — and then take the build into something that resists it, and adjust from there.
Reader Q&A
Is this guide spoiler-free?
We avoid story spoilers. Mechanics and systems are explained directly, but plot beats are not covered.
How current is this guide?
Updated for the most recent patch as of June 2026. Major balance changes are noted inline.
Do I need DLC for these strategies to work?
No. Everything covered here applies to the base game. Where DLC content is referenced, we mark it clearly.
Will following this guide work on hardest difficulty?
Mostly — yes. A few strategies become tight on hardest difficulty; we flag those where relevant.
Reader comments